Hope you had a great time knitting your moss stitch, aaaaaaahhhhhh. Just found out that the Dutch gerstekorrel is a seed stitch in some countries and in others a moss stitch. Whatever you name it, it will be lovely for this little bag. I love the seed stitch, it feels lush and sumptuous to me and with the right wool it is nice and soft. 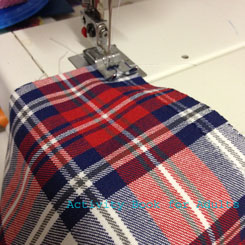
As for the strength of a big stitch knitted clutch size bag I am a bit dubious, so I have made a lining of a fabric. For a fabric hoarder like me it is not very hard to find a fitting cotton fabric for the chosen wool. When I see a fabric in an op-shop that I really like I will buy it even though I am not always sure where I am going to use it. This checkered fabric I have had for at least two years, but as soon as I saw the white wool it was clear for me that this should be the insert. Now if you are not a fabric hoarder, I would have a look at your local quilt store. They often have affordable colourful quarts, that are perfect for a little project like this.
How to continue your bag making;
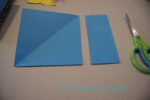
Measure your knitted rectangle, it will be approximately 26 x 32 cm. That is the size of mine, but as everybody has a different hand in knitting, one a bit tighter then the other, the size might vary a little. From your fabric you cut a piece of the same size. Both pieces need to be folded in half over the short side, which will make your bag approx. 26 x 16 cm. You also need to cut two length of fabric to be able to adhere your handles to the bag. If you plan to purchase mine then these piece will measure 19 x 8 cm, if you have your own handles you will have to measure the amount of fabric needed yourself.
With a sewing machine or by hand if you have none close the short sides of the fabric. Now you have a pouch. Iron out the seams for neatness and iron about 1cm of fabric over at the top. Secure with pins if you feel it is necessary and sew around to fasten. The last bit of machine sewing this week is, to sew about 1 cm on the short sides of the attachment pieces, on either side.
As for the knitted pouch, you will need either a big needle to accommodate your thick wool, or you need thinner wool in the same colour to close the sides. Closing a side on a knitted object, I have bee taught, happens on the right side of the “fabric”. Once the thread is attached (or you work with the left piece of starting or ending of the work), you pick up one stitch on one side of the seem and one stitch on the other side. Continue and pull tight or perhaps I should say straight. This results in the neatest edge. At the end 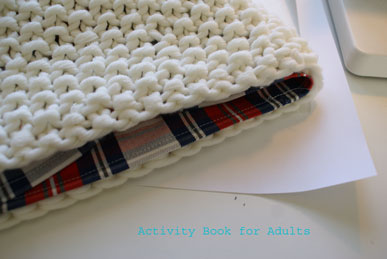 push the needle to the inside of the bag and finish it of so the thread does not go anywhere. Do this on both sides.
Now you can push the sown pouch into the knitted pouch. Give yourself a tap on the shoulder, well done. We will attach the handles next week.
You can order my handles through my Etsy store renateandtheanthouse

 What was the problem? The landscape wasn’t telling a story. The only character in the landscape is the cat. So what story can a cat tell…
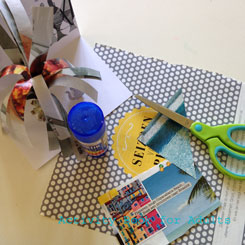


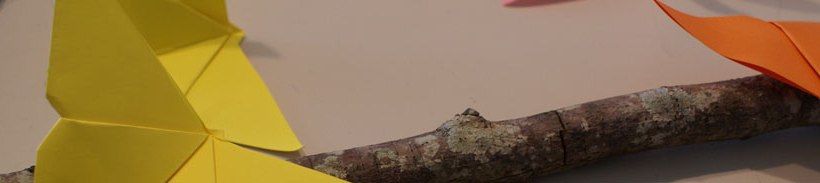
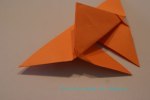
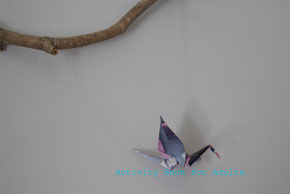 er have a plan and it fails. This is what happened with my butterfly mobile.
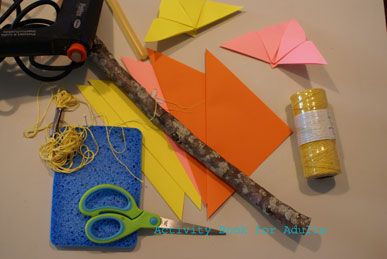 How hard is it to make a butterfly float from a piece of string. Well in my case impossible. I have tried to find the middle of the butterfly, I have tried several points of attachment, I have tried stabilizing the butterfly with a toothpick and hanging the string from there…. If you have anymore ideas I can try let me know.
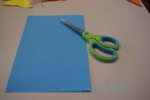

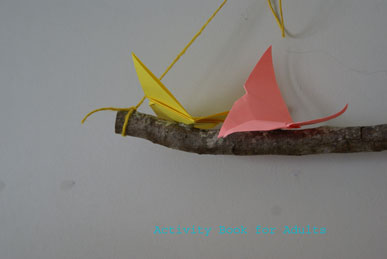 Take your stick and your hot glue gun and arrange your butterflies on there. I have also hung one from its wing, to make it seem like it is flying. Attach some string to the ends of your stick so you can hang it. Enjoy!


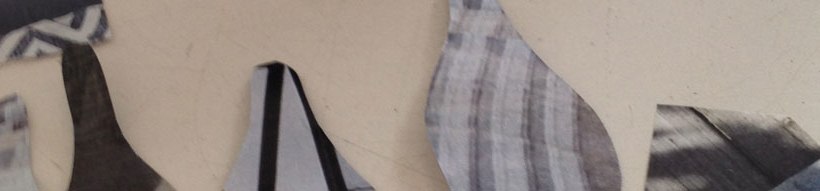
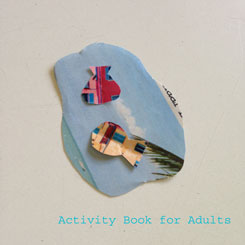
 Peaceful landscapes are considered another meditative subject and we are coming along nicely with the tree and the cat and the sun. I initially drew in a background, but I have decided that since everything else is made of magazine, these elements should join.
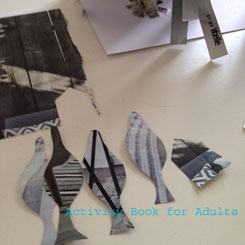 can fold the piece of paper to cut out the same shape twice, then you only have to draw once. Compose the back ground (perhaps I should have done this bit a the start to make the whole thing easier, but now you know where your main elements are placed, so it isn’t all bad.) Now glue the elements in place. Don’t worry to place them a little over the edge, you can trim these easily. Here is your finished back ground. I think I
 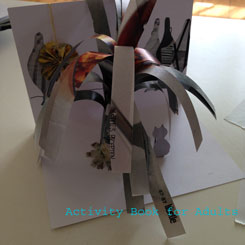 might make some grass this week to complete the landscape or a flower, we will see. Enjoy crafting!
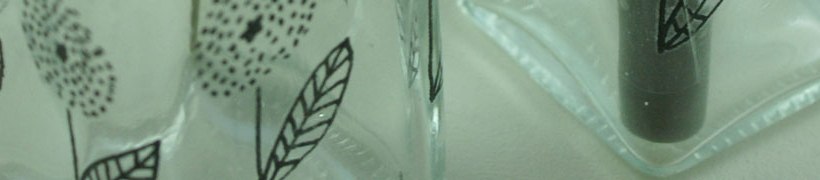
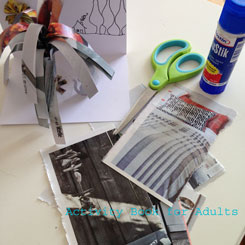
 courses and one of them is about transfers. It is a very simple process and lots of fun, but I was still at a bit of a loss on where to use it. Pinterest gave a couple of ideas, but I left it for a bit.


 will happen as the paper comes of the ink will stick to the packing tape and more over the packing tape will stay sticky. When you have removed all the paper put it sticky side down on some baking paper to dry. If you then find that not all paper has gone just make it wet again and remove the remainder of the paper.
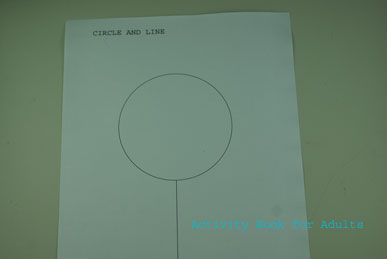 “Simple shapes are the basis of every drawing.” “You can always bring a subject back to the basic shapes.” I am loosely quoting drawing instructors. I often pass this stage as I don’t think about it, but it definitely does help to first outline the basic shapes and then fill in the other parts or connect lines.


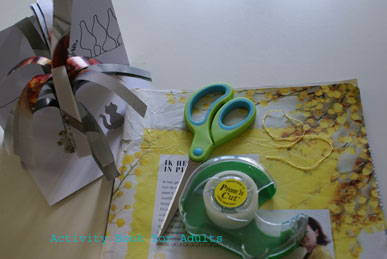 Also I wanted to keep on using the same magazine paper that has been used so far and that is a bit thin for the filigree technique.
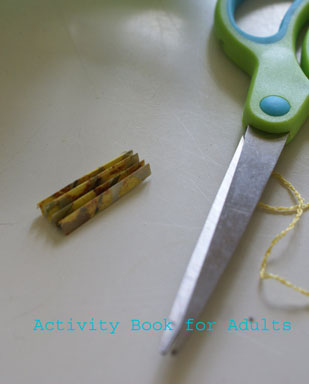 As a sun is yellow and I wanted to inject some colour in my picture, I looked through my magazine for some yellow, but I could have or perhaps should have picked another colour just for fun. I found a page with yellow flowers and cut out a square of approx. 4 x 4 cm. This squared got folded in the following way. Fold the square in half then open it and fold the side to the middle fold line, then open it and fold the next outside rim to the second fold. Now you can start to make a fan fold back and forward. It turned out to be too small so I repeated every thing I did to make a full circle. With the piece of string tie the two fans together in the middle. Fan out the outside of
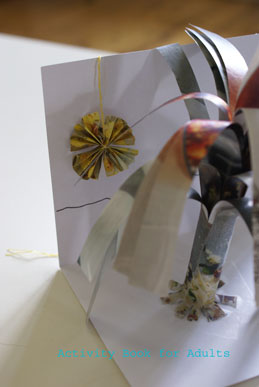 the fans and stick them together with sticky tape (very fiddley I can tell you and my husband just came home with the kids when I was doing it and of course they were on top of me wanting to know what I was doing…..) Take your time. Use the end bit of your string to hang the sun from your sky. Enjoy your sunny day landscape. Next week will fill in the drawing at the back to make it fit in.