Having made the piece of felt, I had to figure out how to attach it to the handles to make the bag. One of the things that is important to me is the organic shape of the handmade felt, I want to show that of. I tried to research different methods on the net and I do not know if it was because I am impatient or didn’t search in the right places, I could not find something like it. An other consideration is that this is one of my first pieces of felt and I am not 100% sure it will keep. So I have opted for the insert. Here is my process
Materials;
- piece of fabric
- sewing thread & needle or sewing machine
- no. 2 crochet thread
- no. 2 crochet needle
- scissors
As my piece of felt has some strands of denim coloured blue in it. I used part of an old jeans for the insert. (Pro tip: Look around your closet for clothes you no longer ware or are broken, but your favourite fabric.) Measure the handles and your piece of felt to decide how big your insert needs to be. My handles are approx. 20 cm wide and the folded piece of felt 15 cm deep as a result, the insert needed to be 22 cm x 32 cm allowing for 1 cm seems.
As I have a sewing machine I quickly closed the sides and put a little hem in the top, but you can do it by hand, just allow yourself more time.
Then I had to figure out how to attach the insert to the handle. As denim is quite thick I did not want to use the same solution as I did with the knitted bag, so I opted to crochet the attachment. I am afraid this is the longest part of the process and my least favourite, although I think it does look good and appropriate.
First you have to make a blanket stitch all around the top of your insert. How to blanket stitch click here for a good graphic image. I hope my pictures help as well. Then set up your crochet with a single crochet stitch for the width of the attachment opening on your chosen handles (mine approx. 17 cm). For every blanket stitch I used two crochet stitches. As it depends on how big your blanket stitches are it will be trial and error, just as long as it doesn’t pull. Click on the word “single crochet” above to get a diagram of how to crochet the stitch. Now you have to crochet about 24 rows to make the handle fit if you use mine, otherwise you will have to measure with your chosen handles.
Once both sides are crochet we are ready to finish the bag next week.

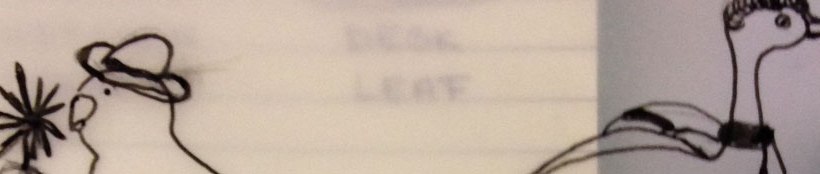
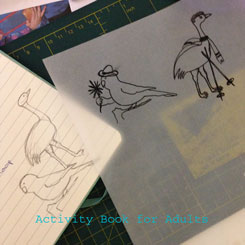
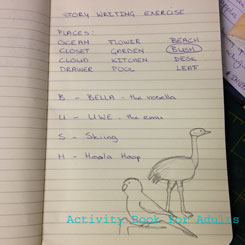
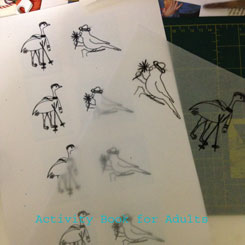 at your story for elements that can enhance your character. Uwe would like to ski, so even though the bush to most would seem like a warm place he is wearing a scarf and is holding poles. Bella on the other hand is a happy go lucky bush girl that plucks the day, with a hat and holding a flower she seems pretty happy. Again I use the internet to learn how I can give my characters these trades, by looking at what others do. It’s a great way to learn as long as you do not copy direct! Now make sure you have enough to cover your pages. I just like to scan, scale and print them.
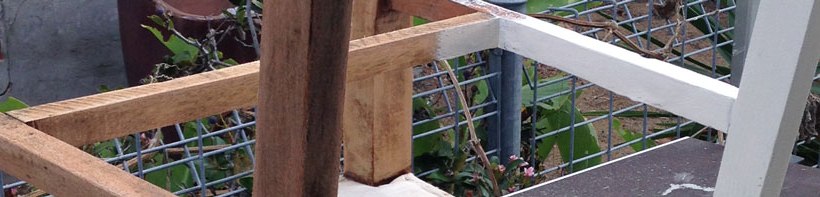
 organising. But organising my stuff means I come across all kinds of unfinished projects. One of these projects effects the look of my workroom and thus I feel like I can take a break from tidying and spent some time making.
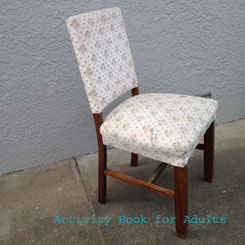
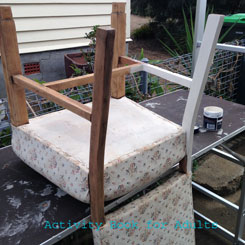 love chairs and I like to (wish I had more time to) do them up. The chair needs a total make over and I finally started it. I sanded the wood and painted it, because as it turned out there were different kinds of wood on the base. Now I need to upholster it with a nice graphic screen printed by me fabric. The last bit still has to be done and there are plenty of ideas running through my head, but with a long weekend in front of us I might be able to promise you the result next week.
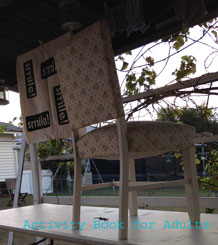
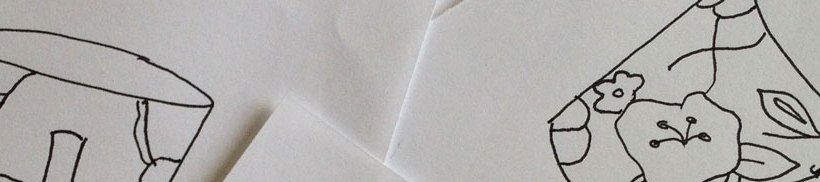
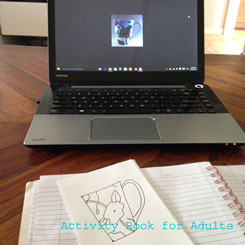 for a mom is precious and so I try to make use of all the tricks I know and that means that sometimes things go wrong. Just as planning to have this object drawing post and tomorrows tidying post done and dusted. Oh well a real time post this time. Just as todays post drawing a real object. It is not about drawing a realistic version of the real object, but to observe and try to draw what you see.
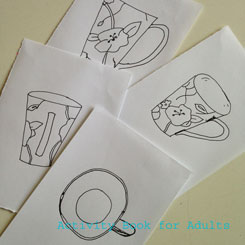


 and from there they would determine characters and they were free to make up their story line. I loved this part of the show and when ever a group of friends came over the dress up box would come out and we would be performing to each other.
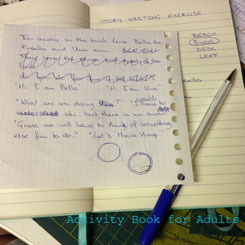
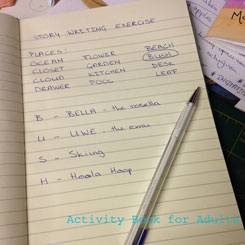
 division in this is. The last two letters represent the events, the other letters are the personalities. B & U in my case became Bella-the rosella and Uwe-the emu, two personalities living in the bush. S & H became the events, skiing and hoola hoop. After some writing and scratching and re-writing I ended up with a short story that I like enough to write in my 4 pages. I now have the words to put images in my mind that I will be sharing with you next week… Enjoy imagining!